This article explains how IT administrators can connect Claude Desktop to UpSlide using the MCP connector. It also covers the Logo Finder authorization required to enable that feature for end users.
To use the MCP connector, you must first install UpSlide’s Skills for Claude. You can download them from this page.
Granting admin consent to the connector
The connector needs access to the user’s email to map their Claude account to their UpSlide license. Depending on your tenant’s configuration, users may or may not be able to grant consent themselves. Granting consent as a tenant administrator ensures that all users can access the connector.
- Go to the Microsoft Consent page
- Log in with your credentials as a Tenant Administrator
- Click Accept
- Once the authorization is successful, you’ll be redirected to the UpSlide website
Claude Desktop
- Open Claude Desktop and go to Customize.
- Click Connectors.
- Click +, then select Add custom connector.
- Enter
UpSlideas the connector name and the following server URL:https://api.upslide.com/mcp
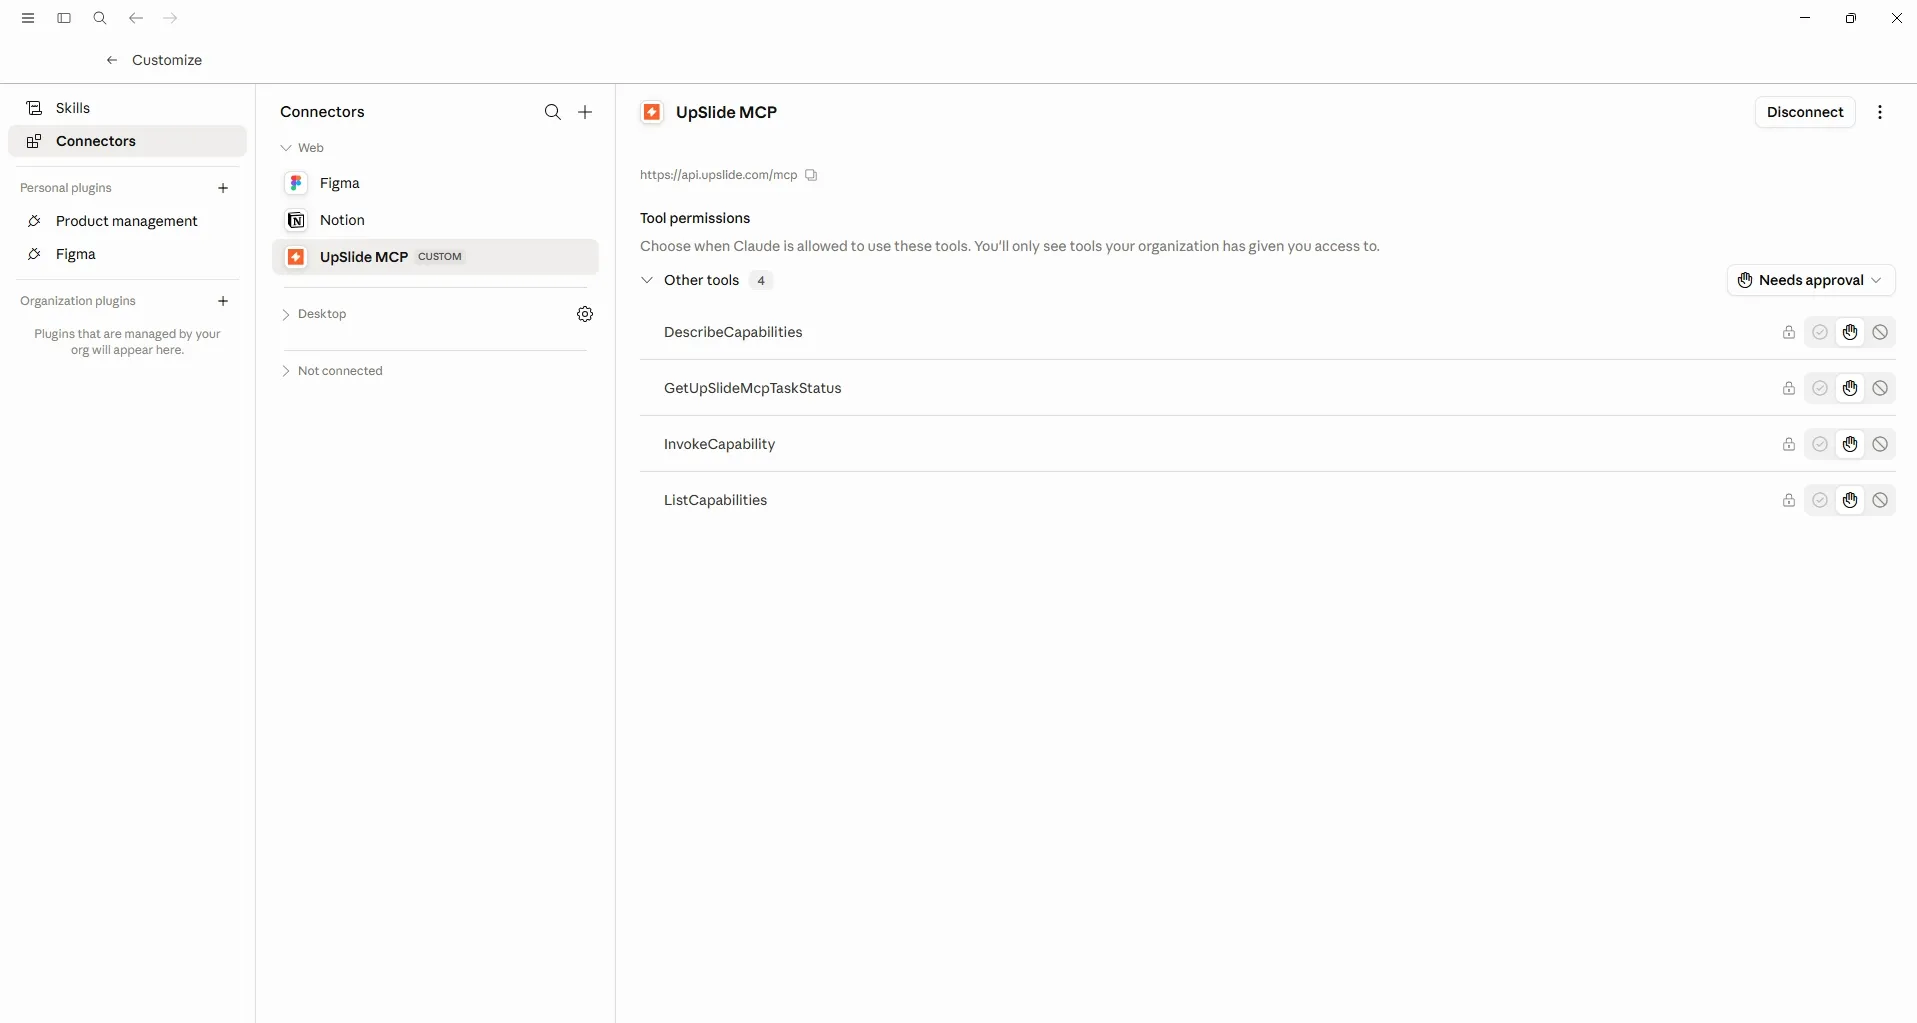
Once the above is completed, your team will be able to connect to the UpSlide MCP through their own Claude desktop app and start using it. They can follow the instructions in this article to connect their Claude app to the UpSlide MCP.
Logo Finder
To grant users access to the Logo Finder feature, complete the authorization steps described in our dedicated article: Logo Finder – Authorize communications