This article guides you through the steps of deploying UpSlide's Outlook Signature Manager option on Outlook.
Prerequisites
You will need access to Microsoft Entra ID to set up the Outlook Signature.
The Exchange Server must be Online. For On-Premise: please contact us at support@upslide.com .
Below is the list of compatible Microsoft Outlook versions:
- Microsoft Outlook Desktop 2016 or more
- New Outlook
- Outlook Online
- Outlook for iOS, version 4.2352.0 or more
- Outlook for Android, version 4.2352.0 or more
If your signature is not appearing on your mobile Outlook, please upgrade to the latest version of the Outlook app for iOS or Android.
For Outlook on Safari, it is necessary to first activate the signature on the desktop version first (Windows or Mac). If this solution is not available to you, disable “Prevent cross-site tracking” to activate the signature and re-enable it after
Employee information
Ensure the following information is up-to-date in your Microsoft Entra ID for every user using UpSlide’s Outlook Signature.
These are all the user fields that can be used in an UpSlide signature.
- Name
- Job title
- Department
- Business, mobile and fax phone number
- Office address, including street name, postal code, city and country.
- Company name
User information is not saved in our database. The data is pulled directly inside the Outlook client.
Assign licenses
To access the Outlook Signatures, each user must register in the UpSlide Account Portal. You can find instructions on how to add users here.
We also provide a provisioning solution to help you synchronize your Microsoft Entra ID with our licensing database. Learn how to set it up here.
Add-in installation
You can deploy the Outlook Signatures Manager via the Microsoft integrated apps. To deploy an Office application to your organization, you’ll need Global Administrator rights.
- Click here to access the integrated apps of your organization
- Click on the Get Apps button on the integrated apps table
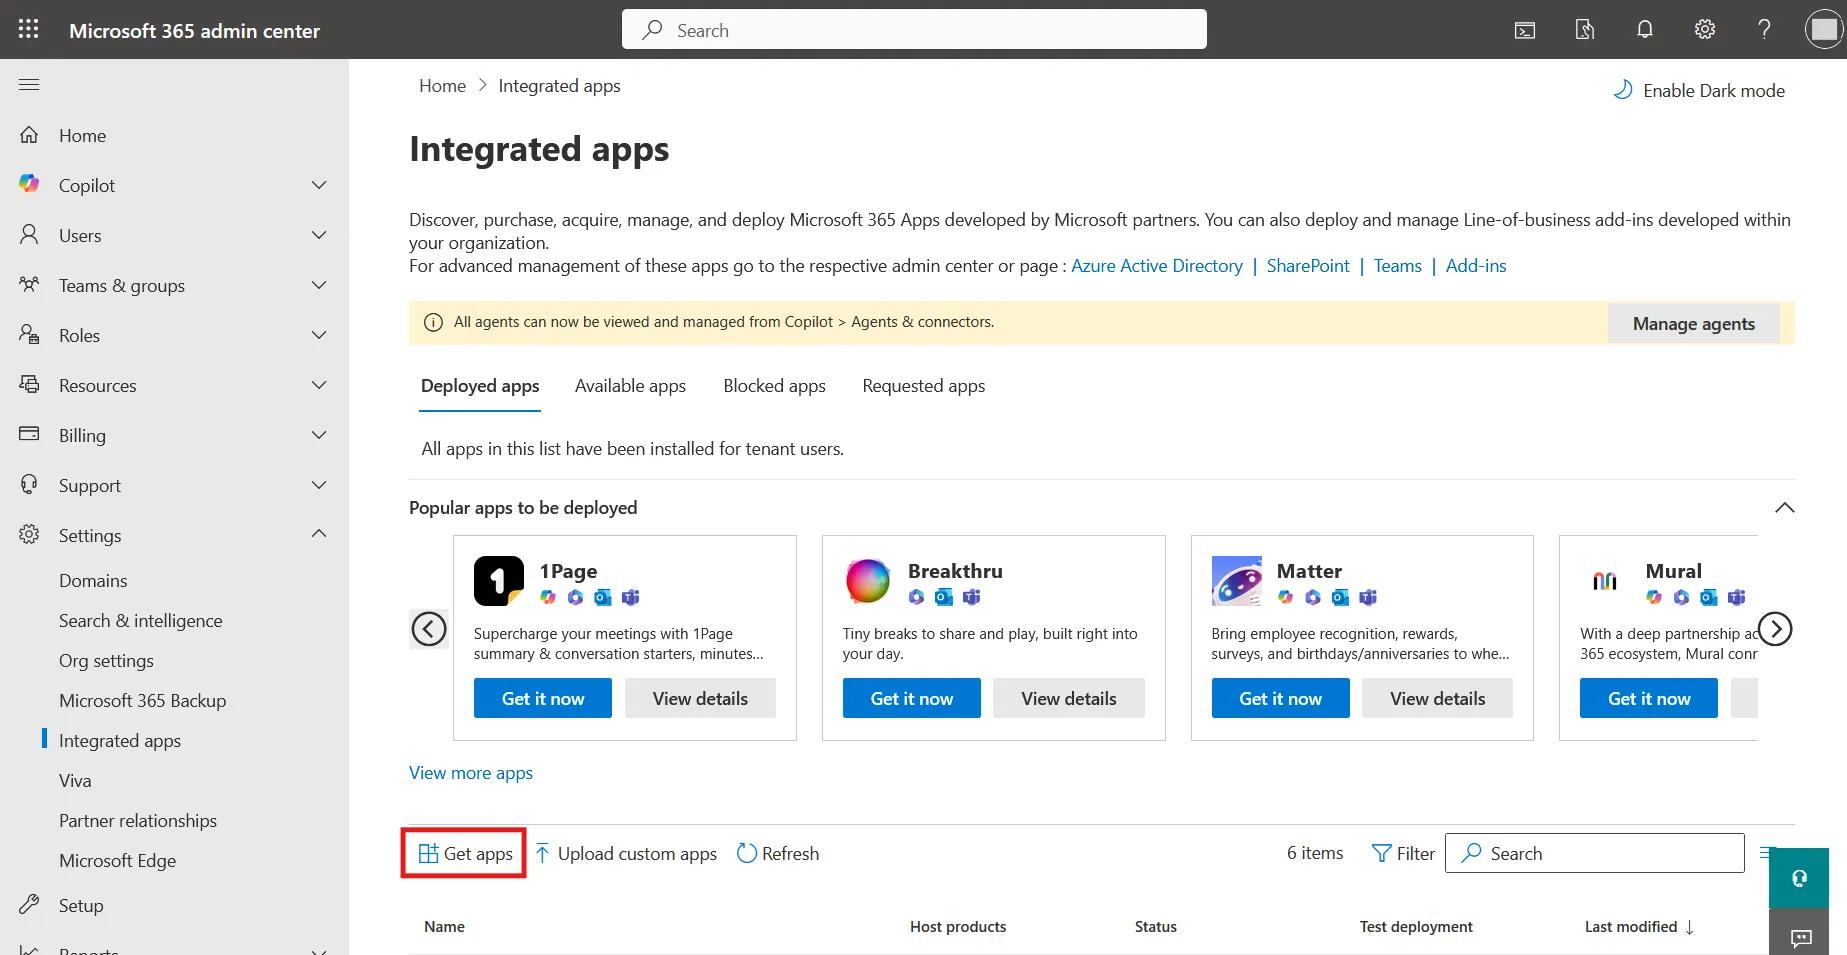
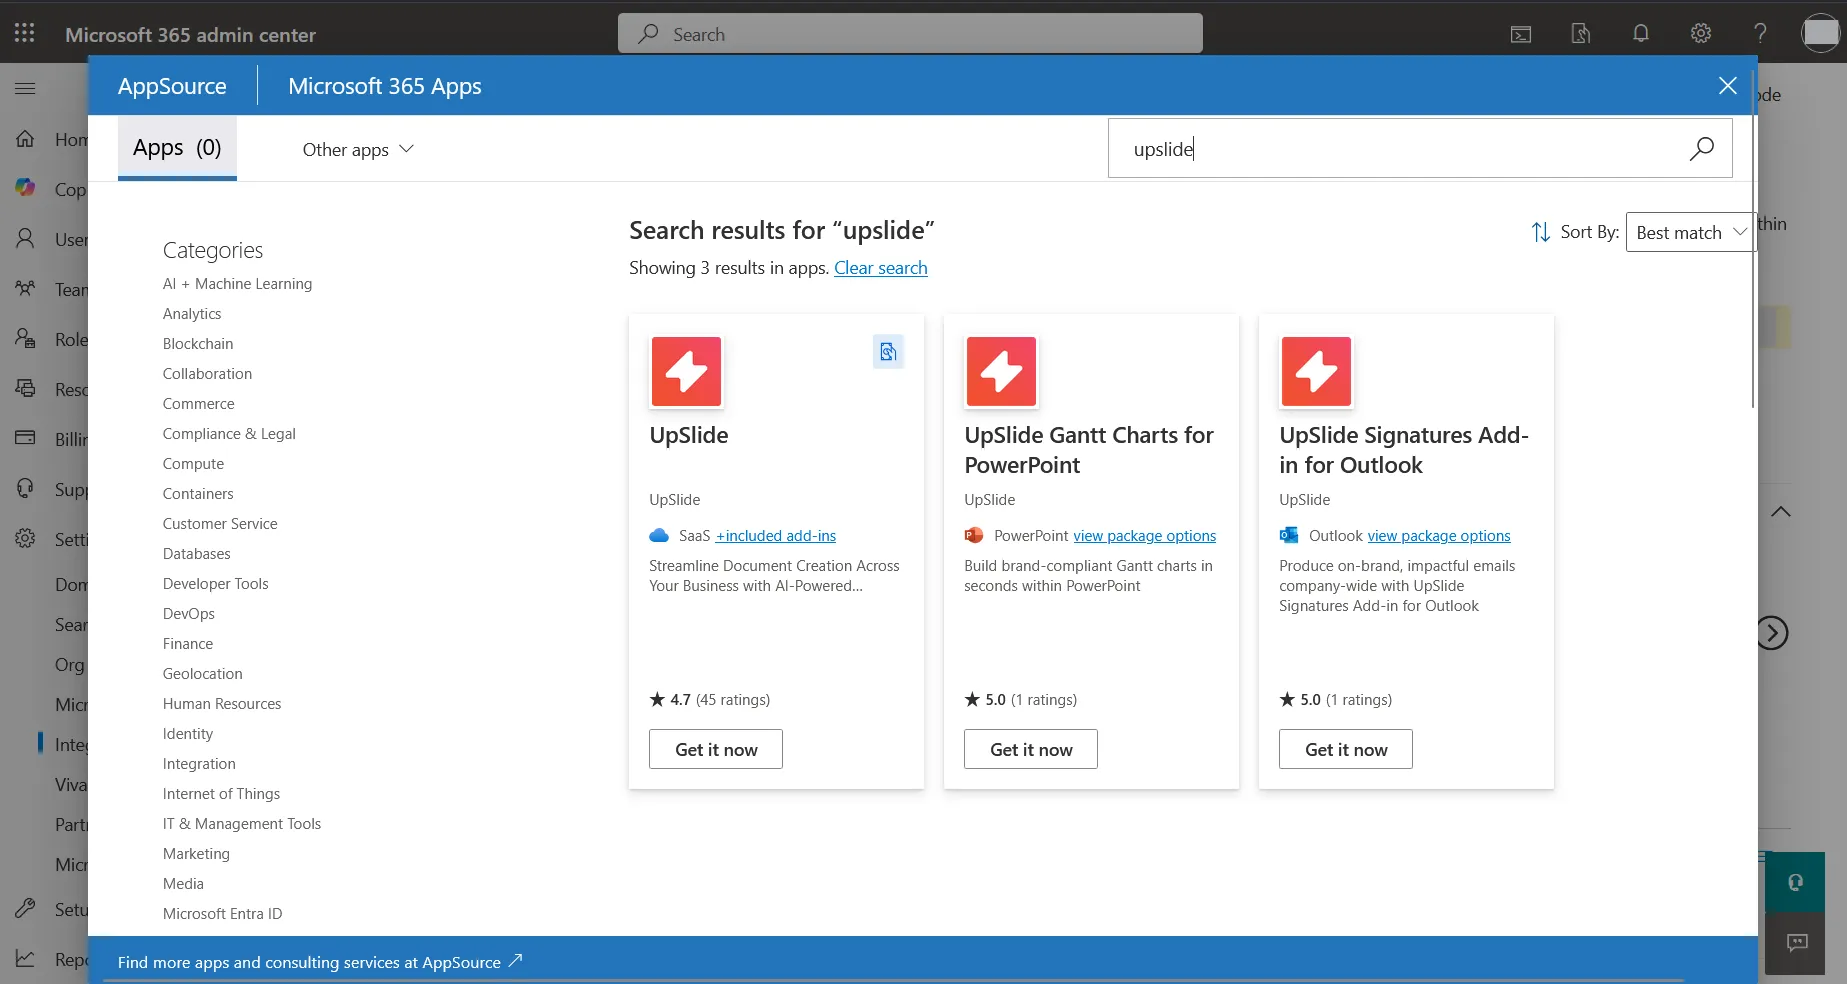
- In the search bar at the top-right, type “UpSlide” and click Get it Now on the application you wish to install
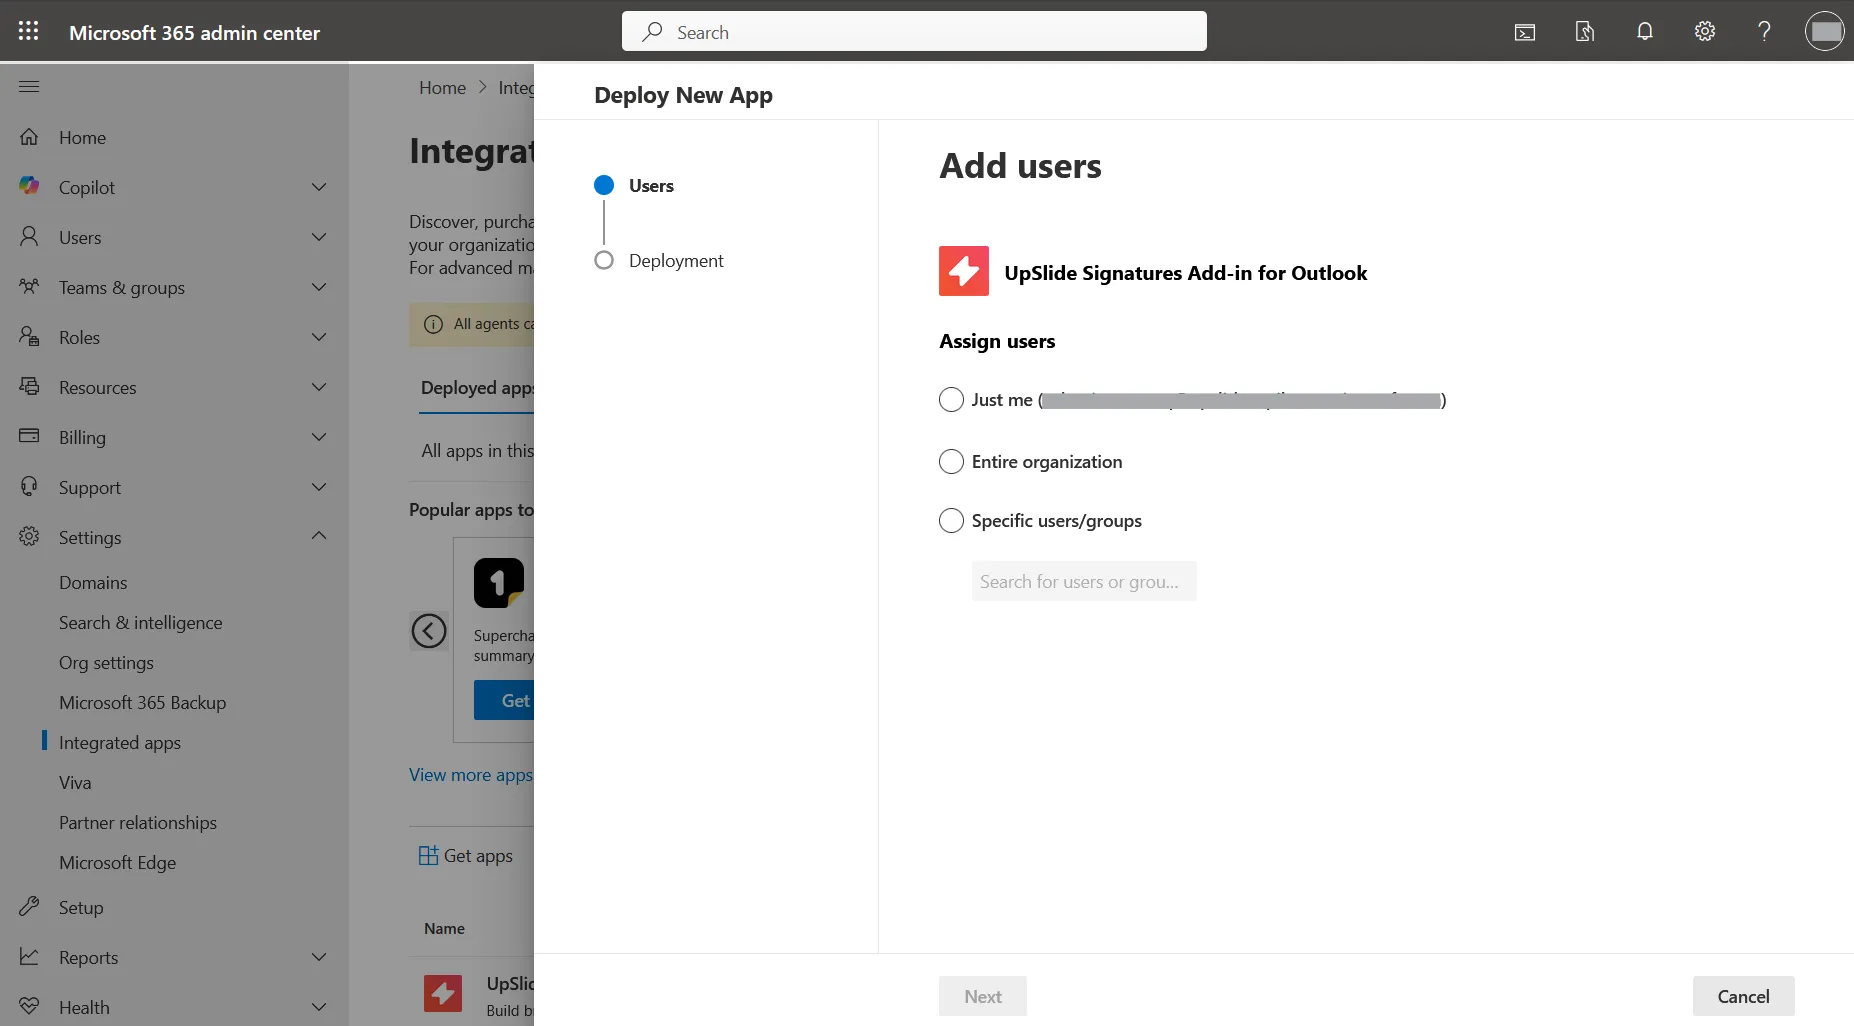
- Choose the deployment scope for the add-in
- Just me - The add-in will be accessible only to your account
- Entire organization - The add-in will be accessible to everyone in your organization
- Specific users/groups - The add-in will be accessible only for the specific users and user groups you select below.
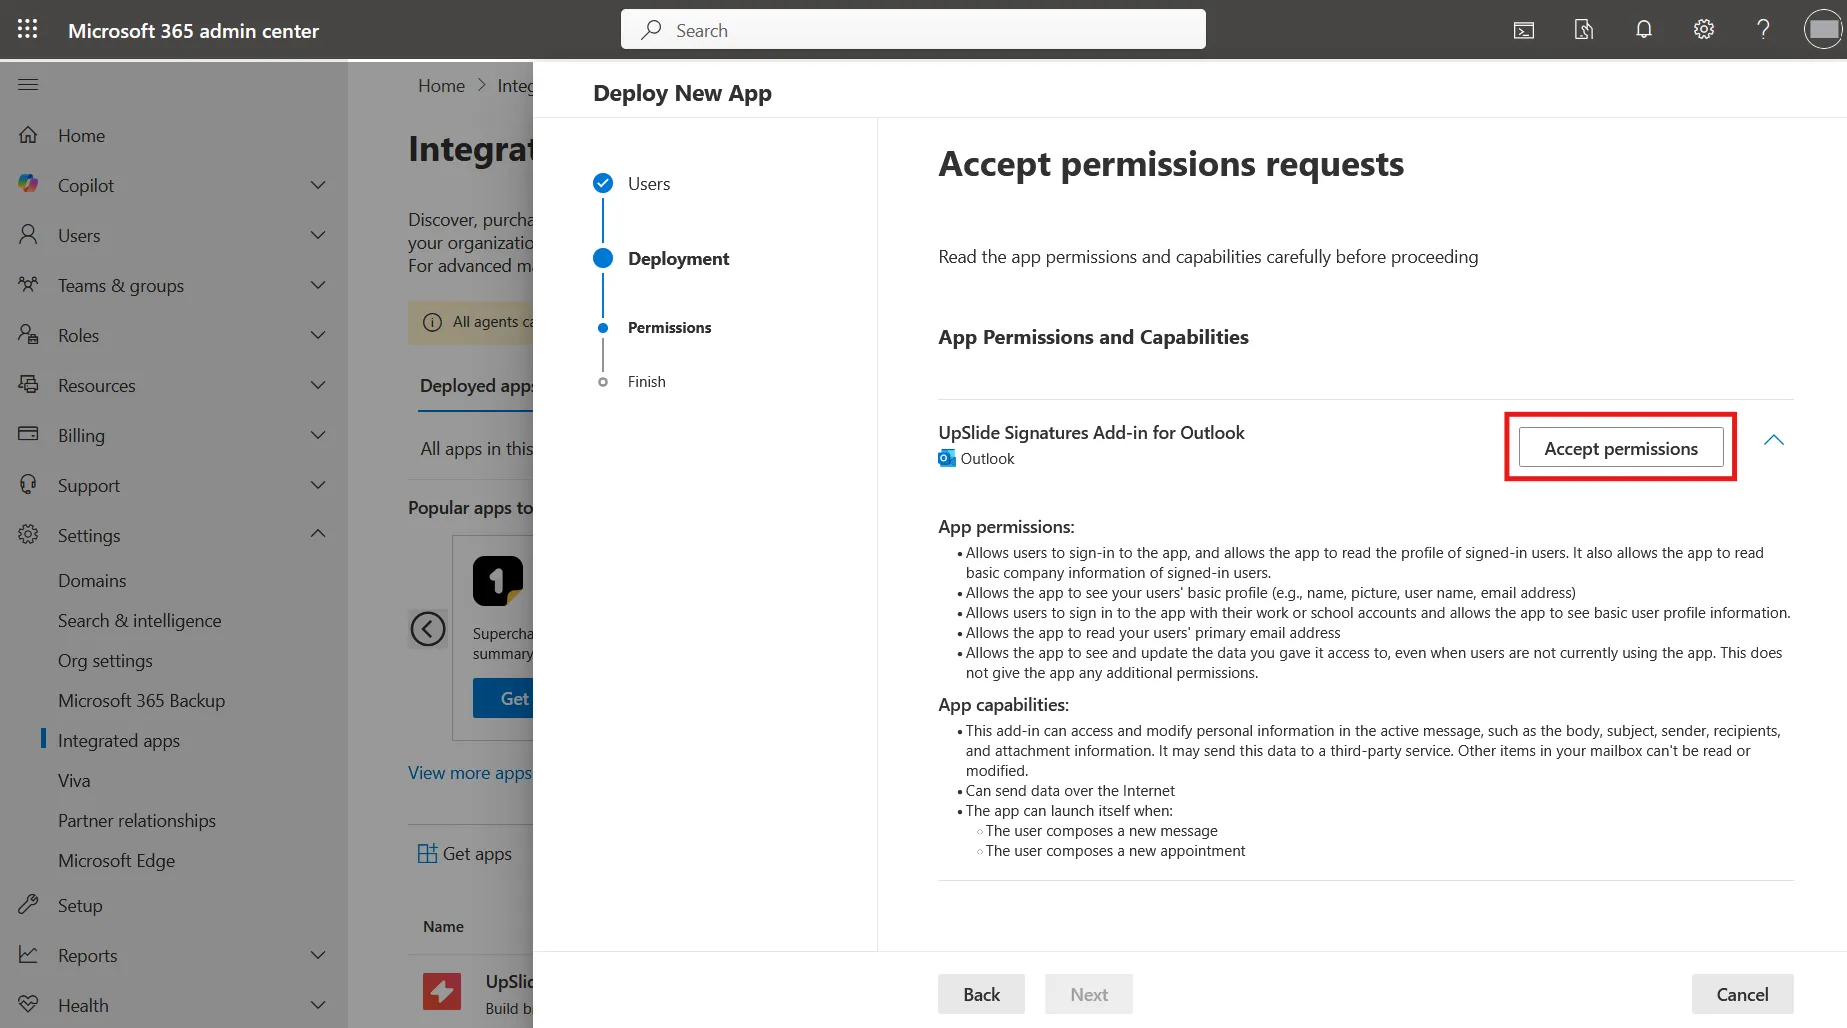
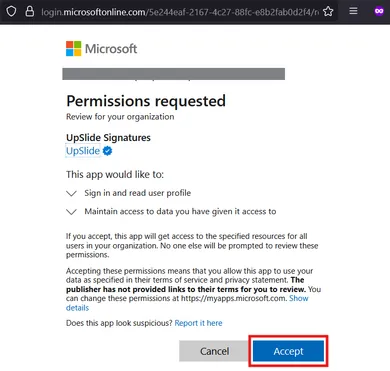
- Accept the required permissions for your organization. A confirmation pop-up will appear to confirm the action. Then, click on Next in your main window.
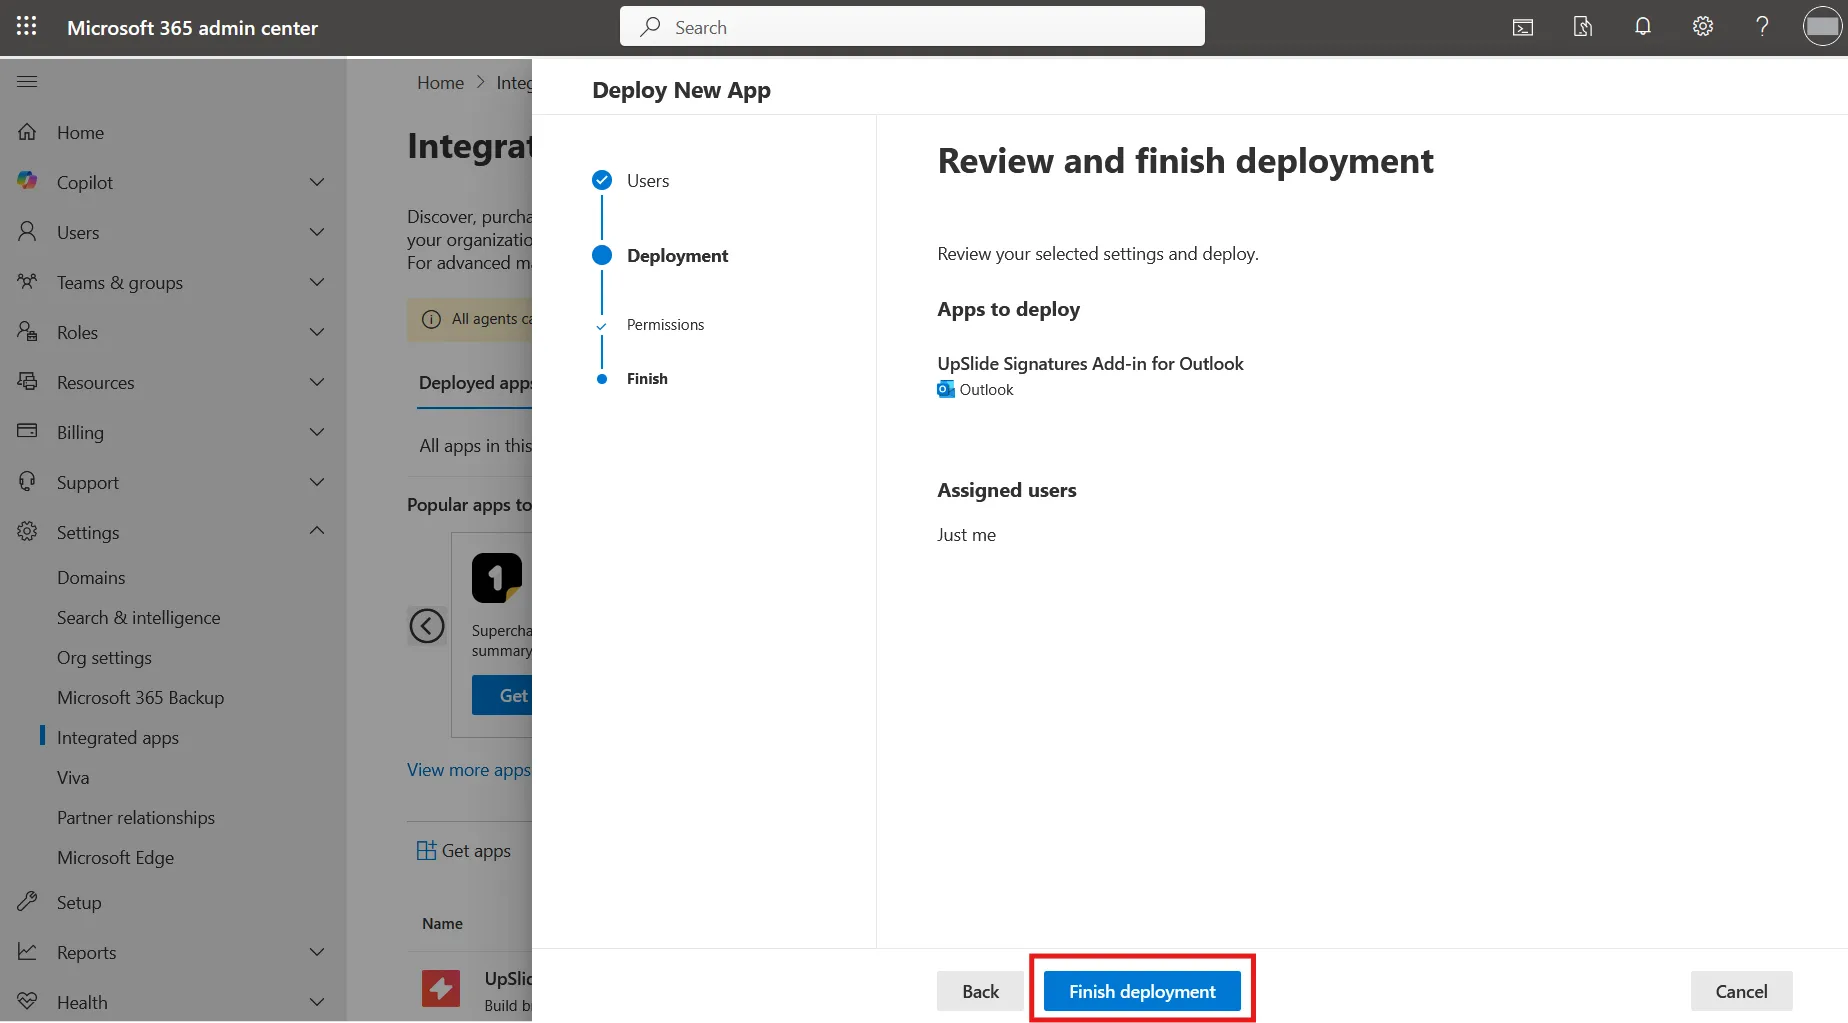
- Review your deployment scope and click on Finish deployment to finalize the installation
Manage deployment scope
You can change the deployment scope at anytime.
- Click here to access the integrated apps of your organization
- Select the app for which you want to edit the deployment scope
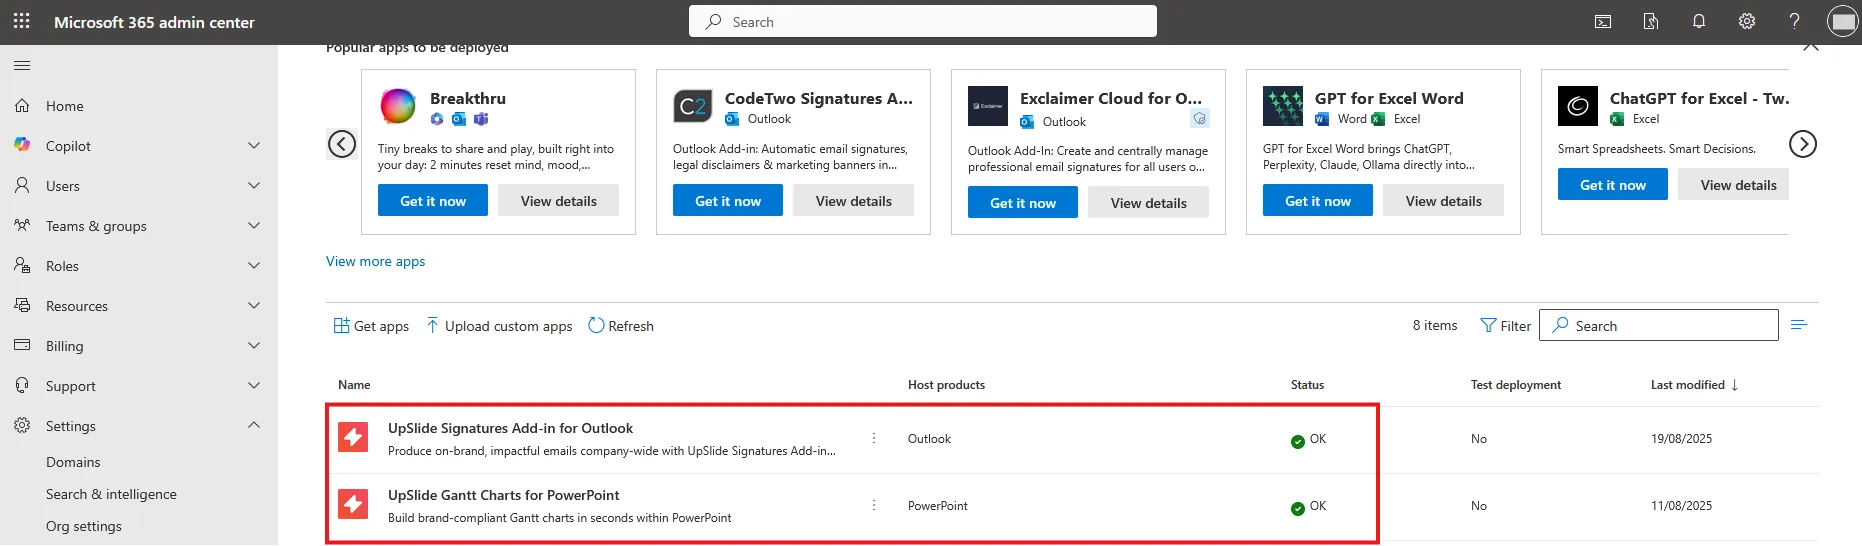
- Navigate to the Users sub-page and modify the assigned users. Click the Update button to confirm your new deployment scope.