Contact Support

How to use the Formatting Tools in PowerPoint

Updated September 15th, 2026

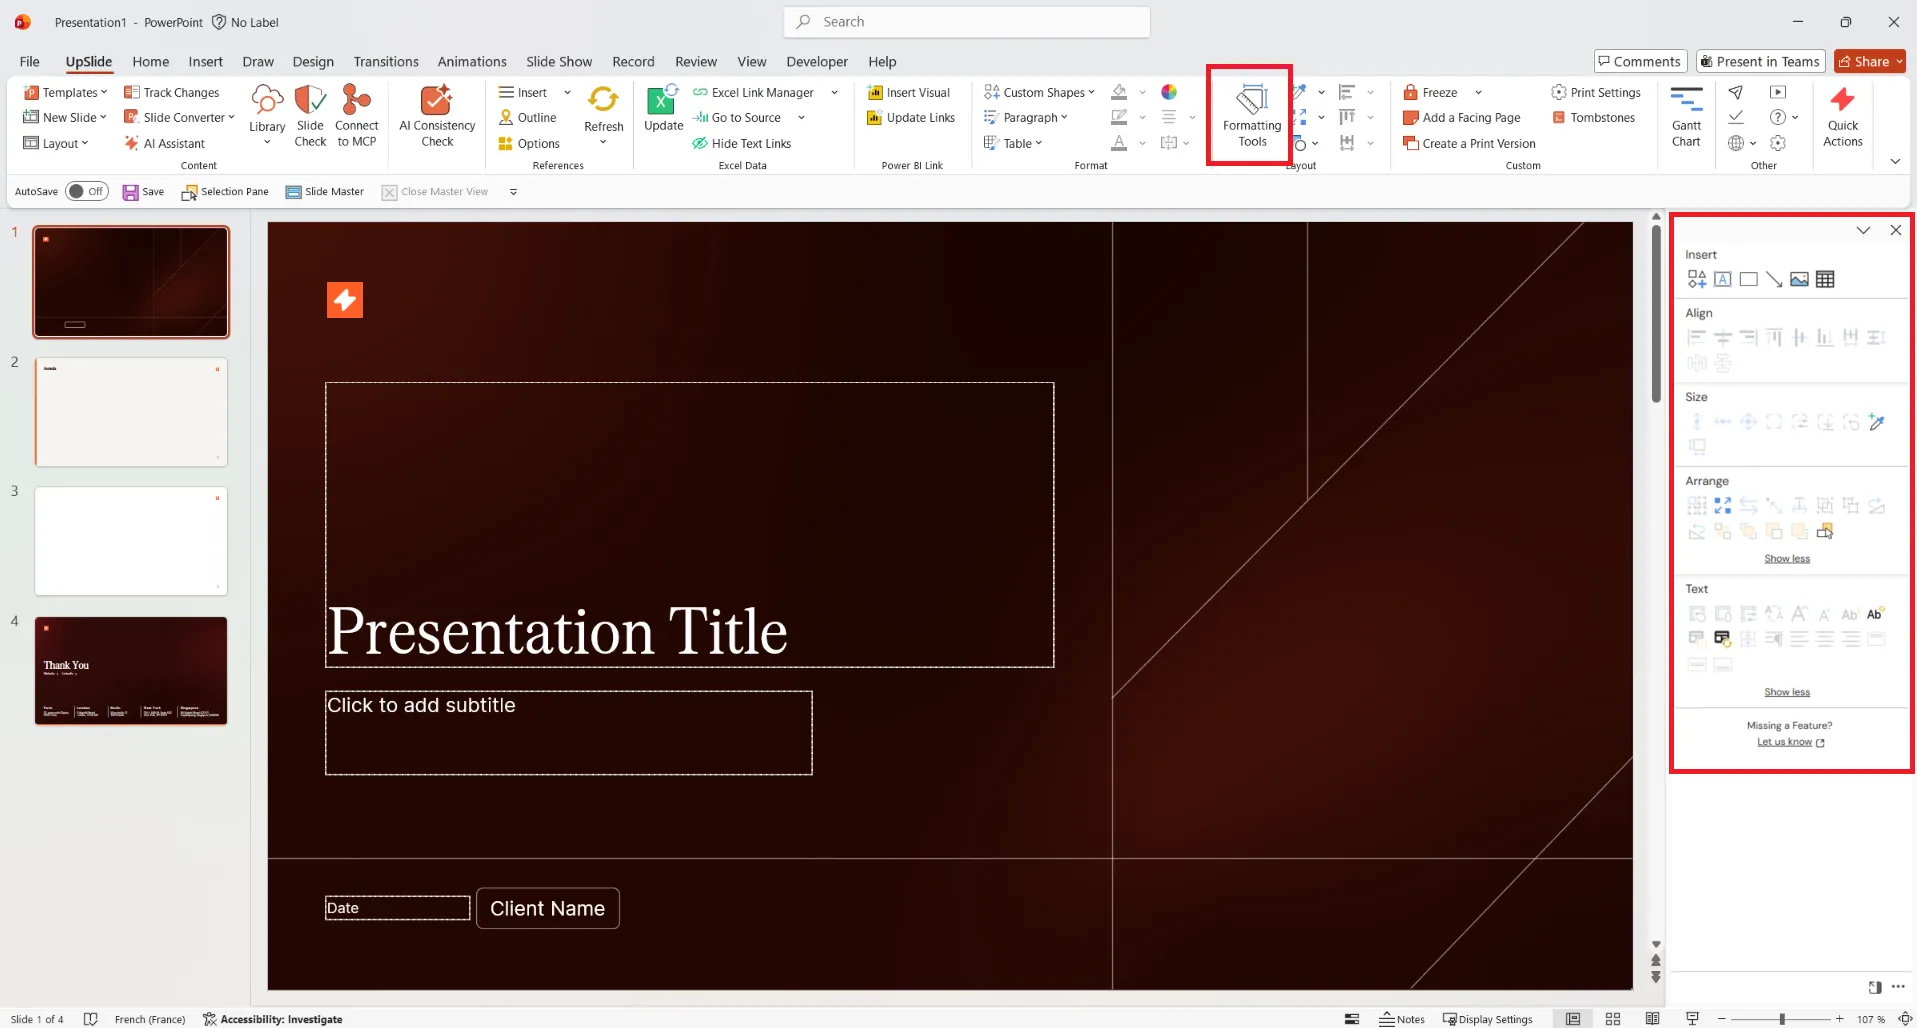
The Formatting Tools pane provides one-click access to key native and UpSlide formatting features in PowerPoint. The following article provides information on the functionalities found in each section of the toolbar.
Summary

Insert

Insert a custom shape

To learn more about inserting custom shapes, please refer to this article.

Insert text box.png

Insert a text box

  • Click Insert a Text Box.
  • Draw a text box in the desired area.
Insert rectangle.png

Insert a rectangle

  • Click the Insert a Rectangle button.
  • Draw a rectangle in the desired area.
Insert line arrow.png

Insert a line arrow

  • Click Insert a Line Arrow.
  • Draw your line arrow in the desired area.
Insert image.png

Insert pictures

  • Click Insert Pictures to insert pictures from your computer.
  • Choose the desired picture/s.
  • Click Insert.
Insert table.png

Insert a table

  • Click Insert a Table to add a table to your slide.
  • Choose the desired number of columns and rows.

Align

Align LRTB.png

Smart Align

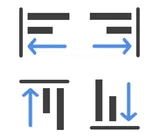
Use the Smart Align to align objects to any other shapes or placeholders on your slide.

  • Select shapes to align.
    • Select Smart Align Left to align with the leftmost shape in the selection.
    • Select Smart Align Right to align with the rightmost shape in the selection.
    • Select Smart Align Top to align with the highest shape in the selection.
    • Select Smart Align Bottom to align with the lowest shape in the selection.
  • Click again to align with the next shape in that direction. You can also hold CTRL + Alt and use the arrows on your keyboard to quickly Smart Align objects.
Align middle.png

Align objects Middle/Center

  • Select shapes to align.
  • Select Align Centre to align objects to the horizontal centre point.
  • Select Align Middle to align objects to the vertical middle point.
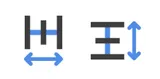
Resize and Distribute.png

Resize and Distribute

  • Select the shapes you want to distribute within a reference placeholder.
  • Click Resize and Distribute horizontally or vertically.
  • The shapes are resized to the same width when distributed horizontally or to the same height when distributed vertically.
  • Customize spacing by adjusting the gap between shapes. They will automatically resize to fit within the reference placeholder.
Distribute.png

Distribute

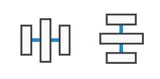
  • Select shapes to distribute evenly.
  • Select Distribute Horizontally to set an even horizontal distribution between objects.
  • Select Distribute Vertically to set an even vertical distribution between objects.

Size

Copy size.png

Copy Height / Width / Dimensions

Apply a shape dimension, width or height, to any other shape selected in your slide.

  • Select your reference shape first, then select all the other shapes to which you want to apply the height and/or width.
  • Select either Copy Height, Copy Width or Copy Dimensions to apply those sizes.

Copy corner radius

  • Select several rectangles with rounded corners.
  • Click Copy corner radius of the first selected shape to all other shapes in the selection.

This option will not be clickable if you select any other shapes besides rectangles with rounded corners.

Custom corner radius

  • Select one or more rectangles with rounded corners.
  • Click custom corner radius.
  • Enter a value to apply a custom corner radius to the rectangles.

This option will not be clickable if you select any other shapes besides rectangles with rounded corners.

Default corner radius

  • Select a rectangle with rounded corners.
  • Set its corner radius using the custom corner radius.
  • Click Save as default corner radius to save the value.
  • Apply the default corner radius by selecting other rectangles with rounded corners and clicking Apply default corner radius

This option will not be clickable if you select any other shapes besides rectangles with rounded corners.

Smart Painter.png

Smart Painter

Smart Painter enables you to copy the position and dimensions of an element in PowerPoint and apply them to any other element in your presentation. To learn more about Smart Painter, refer to this article.

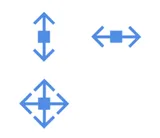
Change size.png

Change size

  • Select a shape.
  • Select the Change Size button.
  • Select the desired height and width and activate or deactivate the lock ratio.

Arrange

Select similar shapes.png

Select Similar Shapes

To update the paragraph style or margins of several shapes at once you can use Select Similar Shapes to select all of them at once. To learn more about Similar Shapes, refer to this article.

Arrange.png

Arrange

Organize multiple elements inside a placeholder at once. To learn more about the Arrange function, refer to this article.

Swap object.png

Swap Objects

Swap two selected shapes’ position in a slide. To learn more about the Swap Objects function, refer to this article.

Swap text.png

Swap Text

Use Swap Text to swap text from two shapes so you don’t have to move them around. To learn more about the Swap Text function, refer to this article.

Group ungroup.png

Group and Ungroup

  • Select an object or a grouped shape.
  • Click Group to combine them into one unit.
  • Click Ungroup to separate them back into individual objects.
Rotate 90.png

Rotate 90° left and right

  • Select a shape.
  • Click Rotate Right 90 to rotate the shape 90 degrees clockwise.
  • Click Rotate Left 90 to rotate the shape 90 degrees anticlockwise.
Send to back front.png

Send to back and front

  • Select the desired shapes.
  • Click Send to Back to move them behind all other objects.
  • Click Bring to Front to move them in front of all other objects.
  • Click Send Backward to move them one step back in the stack.
  • Click Bring Forward to move them one step forward in the stack.
Selection pane.png

Open the Selection pane

  • The Selection pane displays the name of each inserted object with the numbered order in which each was inserted.
  • Select to display the Selection Pane.

Text

Margins.png

Update Margins

  • Select one or several shapes.
  • Set Default Margins for selected shapes, as applied when inserting a new shape in the current presentation.
  • Remove Margins by setting margins to zero in the selected shapes.
  • Set Custom Margins for selected shapes.

Custom Margins allow you to change all margins at once or to amend each margin individually.

Switch fonts.png

Switch Fonts

  • Select text.
  • Click Switch Fonts to switch between your template’s body and heading fonts. You can see the heading and body font by looking at the Theme’s font.
Increase decrease font.png

Increase / Decrease Font Size

  • Select text.
  • Click Increase Font Size to make the font larger.
  • Click Decrease Font Size to make the font smaller.
Insert refresh footnotes.png

Footnotes

Insert and Refresh Footnotes in your PowerPoint slides. To learn more about the Footnotes feature, refer to this article.

Endnotes

Insert and Refresh Endnotes in your PowerPoint presentation. To learn more about the Endnotes feature, refer to this article.

Show paragraph.png

Update Paragraph

  • Select a shape.
  • Click on Paragraph to fine-tune the current paragraph’s text alignment, indentation, spacing, etc.
  • Choose the desired properties and click OK.
Align TCR.png

Align text horizontally

  • Select a text box.
  • Choose Align Left to align your text to the left
  • Choose Align Center to center your text.
  • Choose Align Right to align your text to the right.
Align TMB.png

Align text vertically

  • Select a text box.
  • Choose Align Top to align your text to the top.
  • Choose Align Middle to align your text to the middle.
  • Choose Align Bottom to align your text to the bottom.
Merge.svg

Merge Text Boxes

  • Select multiple text box.
  • Click Merge Text Boxes to merge all the selected text boxes in the first textboxe selected.

Note that this feature only works on text boxes, and not with placeholders or content placeholders.

Options for greater ease of use

To make Formatting Tools easier to use, you can detach the toolbar and position it closer to the object you want to format. You can also click the three dots next to the detach button to select Open when PowerPoint starts to have the toolbar automatically every time you launch a new PowerPoint document.

If you’d like to see other functionalities added to this toolbar, you can click Missing a Feature? to raise a feedback request with our product team. You can also send an email to feedback@upslide.net.

Previous
How to apply fill, outline and font color to shapes using the Color Toolbar