This article will guide you through modifying your Table of Contents settings. If you're not familiar with UpSlide's PowerPoint automation, you might want to look at your Getting started article.
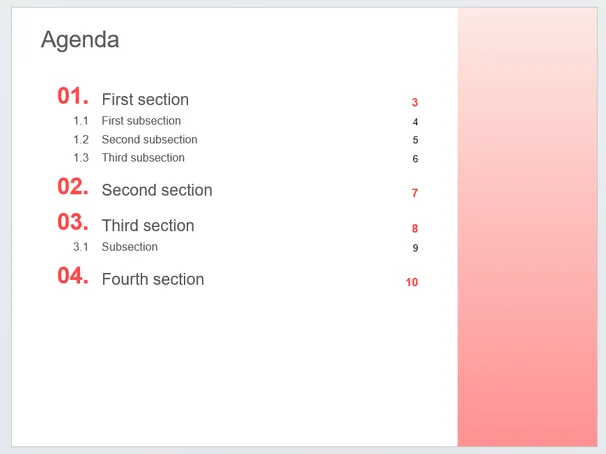
To help you understand the concept with a concrete example, we will build the following Agenda slide.
Presentation layout
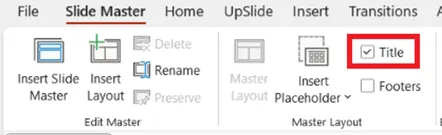
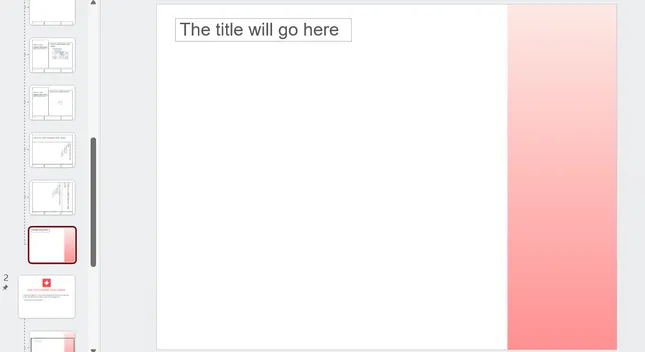
Go in your presentation’s Slide Master, and make sure you have a slide to use for the agenda. The only element that must appear in this presentation layout is a Title placeholder that you can insert from the Slide Master tab. You should also uncheck the Footers option unless you want the date, slide number, or presentation titles to appear on the Agenda slide.
You don’t need to write anything in the title placeholder in the presentation layout, but you should customize the font to fit what you expect your title to look like. Whether it says Agenda, Table of Contents, or Summary will be decided later. Add any shapes you want to use as decoration.
Options
In the UpSlide ribbon, go to the References section and click Options, then Agenda. Here, you will set up all the automation parameters related to the Agenda slide.
Layout
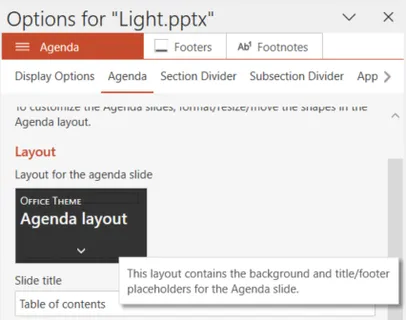
Click the preview box under Layout to select the slide layout we just modified to be used as the agenda slide. Once the layout is selected, its name will appear when you hover on the box. Under Slide title, write the title you wish to appear on your slide, Table of contents, Agenda, Table des matières, etc.
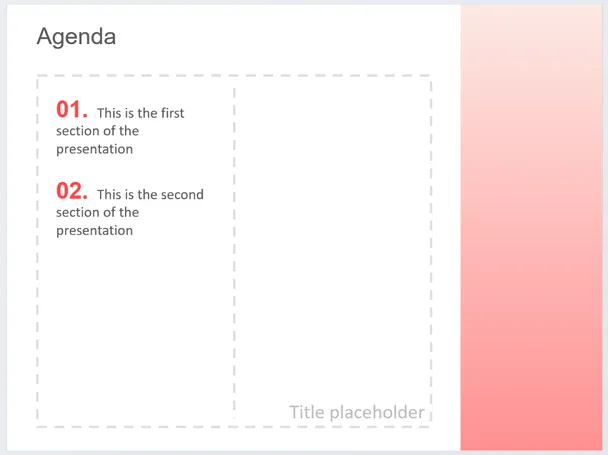
Display Agenda on two columns allows you to have a more dynamic slide based on the option you chose:
- Always - Even if there aren’t enough titles to display in two columns, the first titles will use half of the placeholder’s space available.
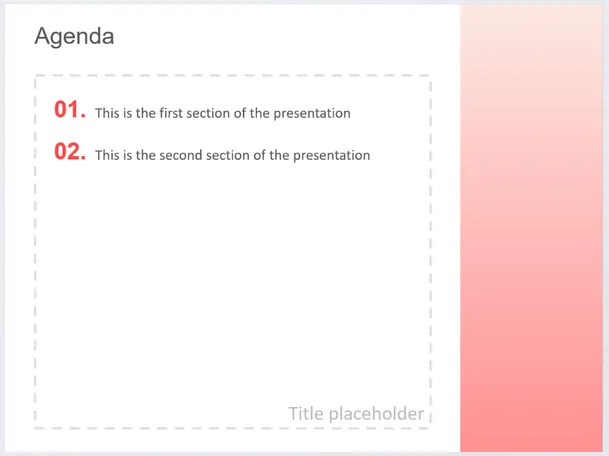
- Never - The titles will use the entire length of the placeholder.
- If Table of Contents is too long - The titles will be put one after the other, using the entire length of the placeholder as they do in Never. If there isn’t enough space to add another title, the placeholder will be divided by two length-wise, and the titles will display in two columns as they do in Always.
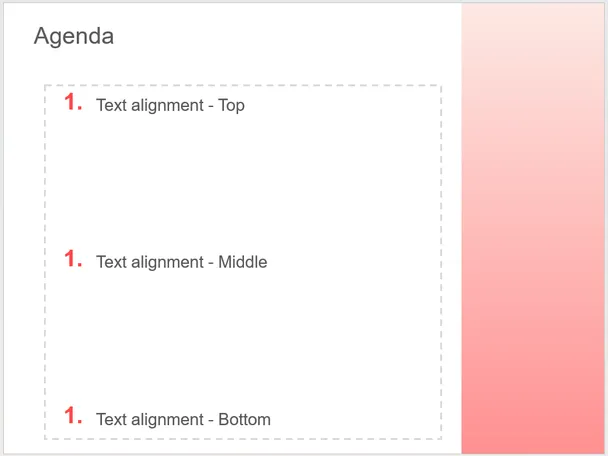
Text Alignment dictates if the titles in the agenda are aligned at the top, middle or bottom of the Title placeholder. This option is only available if Display Agenda on two columns is set to Never, to prevent the two columns from looking scattered.
Numbering
In Numbering, select the type of numbering used for sections and subsections. Options range from letters, Arabic, Roman and simplified Chinese numbering.
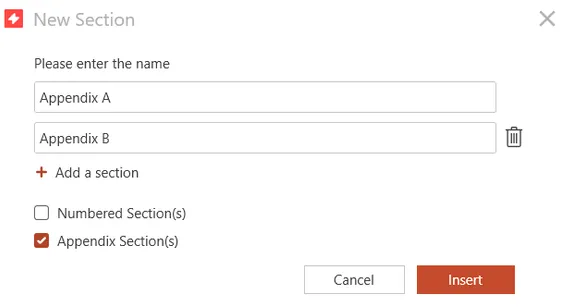
You can select a different numbering for the Appendix’s subsections to differentiate them from regular subsections but appendix numbering will always be the same as the sections’ numbering. If you do not want the sections’ numbering to affect the appendix, you can select to make it an unnumbered section when adding it to your presentation.
Content
Select if you would like the following elements to show in the Agenda:
- Unnumbered sections
- Section and subsection numbers
- Slide numbers
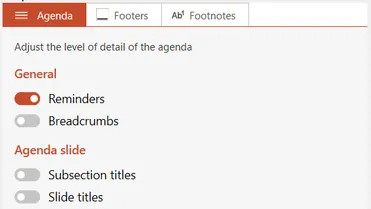
Subsection titles and slide titles can be shown in the Agenda, but you can select Yes, but can be deactivated to let the user decide if they would like them shown or not. The toggle buttons will appear in the Agenda’s Display Options if this option is selected.
Advanced Options
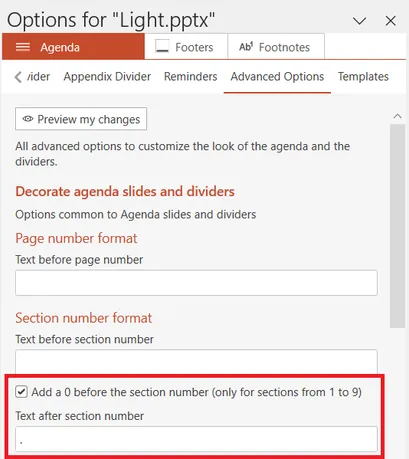
The section numbers in the example all have a 0 before the section number and a dot after it. To get this effect, go to the tab Advanced Options. This option is only available in the Standard template.
Check the option Add 0 before the section number and a dot in the field under Text after section number.
Automation layout
Get to know the automation layout
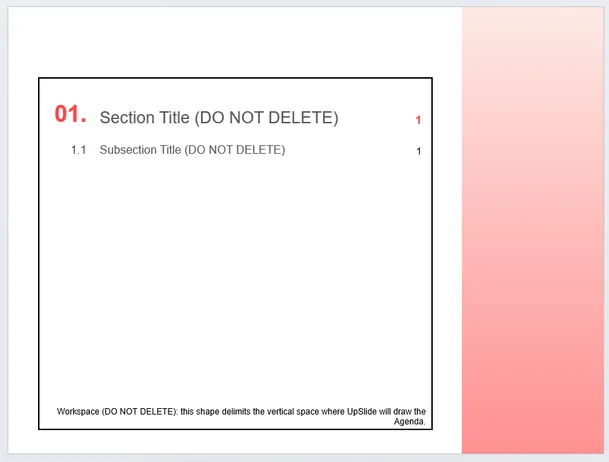
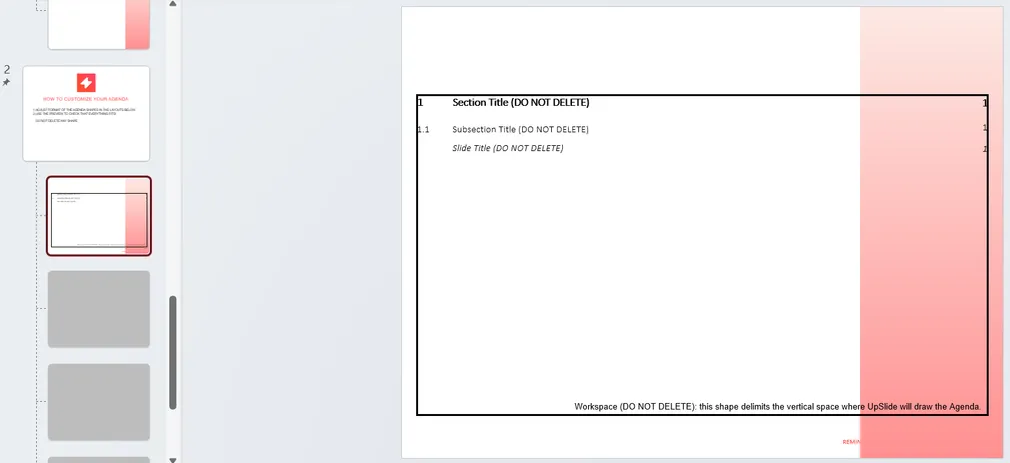
Once you’ve selected all the options for your Agenda slide, find the automation layout for the Agenda back in the Slide Master. It should be the first slide in the second section called Table of content Storage Layout. Delete the grey box to display the automation elements.
It is recommended to open the Selection Pane in the Home tab to have a better view of all the elements.
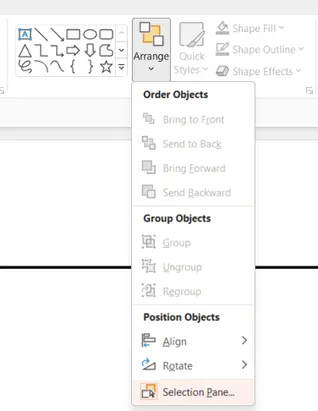
Below is the list of all the placeholders in the Table of content Storage Layout slide.
- Slide Page Box: contains the slide’s number if you’ve selected to display slide titles in the Options.
- Slide Title Box: contains the slide’s title if you’ve selected to display slide titles in the Options.
- Subsection Page Box: contains the subsection’s divider slide number if you’ve selected to display subsections in the Options.
- Subsection Title Box: contains the subsection’s title if you’ve selected to display subsections in the Options.
- Subsection Index Box: contains the number or letter used to identify the subsection if you’ve selected to display subsections in the Options.
- Section Page Box: contains the section’s divider slide number.
- Section Title Box: contains the section’s title.
- Section Index Box: contains the number or letter used to identify the section.
- Plot Area: defines the space in which the titles will be inserted. If there are too many titles to fit in the placeholder, the Agenda will be split in two.
Even if you’ve decided never to display subsection titles or slide titles in your Agenda, do not delete the associated shapes. If the elements on the slides bother you while setting up, you can:
- Move them outside of the slide.
- Set the shape’s height and width to 0.
- Set the font size to 1 and remove its content.
Customize the automation layout
To customize and set up the automation part of the Agenda, follow the process below.
First, move the Plot Area to define where the titles should be displayed. Don’t make the shape too small or your titles won’t fit.
Then, place the Section Index Box, the Section Title Box and the Section Page Box so the placeholders fit inside the Plot Area. You can then update the font colour and size so it fits your template.
We recommend aligning the text at the bottom of the placeholder and making them all the same height to ensure the text aligns when there are multiple sections in your Agenda since the placeholder’s height will play a role in the titles’ spacing with one another. You can use UpSlide’s Smart Painter to ensure all shapes align properly.
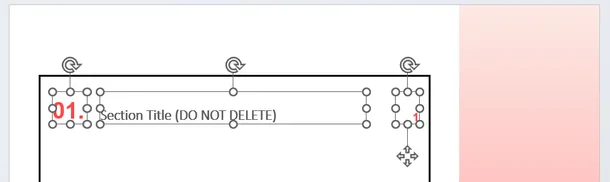
If you’ve chosen to display subsection titles in your Agenda, place the Subection Index Box, the Subsection Title Box and the Subsection Page Box so the placeholders fit inside the Plot Area. Update the style of each placeholder, such as font size and colour.
As for the section placeholders, we recommend aligning the text at the bottom and making them all the same height. To ensure all elements of the same kind align with each other (section numbers with subsection numbers), we also recommend making them the same width and aligning them through the centre.
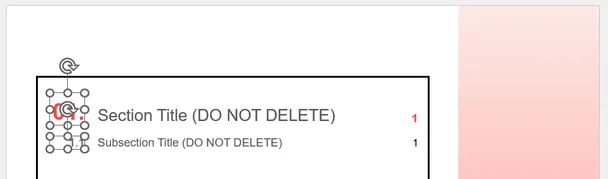
If you’ve chose to display slide titles and numbers in your Agenda, follow the same steps as above by placing the Slide Title Box and the Slide Page Box in the Plot Area.
Again, we recommend making the Slide Title Box and the Slide Page Box the same height and aligning their shapes together. The Slide Title Box should be the same width as the Section Title Box and the Subsection Title Box to ensure all shapes align properly.
Since we’re not using them in our example, we’ll push them out of the way. This is what our automation slide looks like after placing all the placeholders.