Dynamic Libraries enable anyone to easily access data, filter what you need and then add on brand, beautifully formatted content into your PPT file. The most common ways our clients are using this are to build proposals, respond to RFPs and produce pitchbooks using Dynamic Libraries to build the credentials and team bio slides.
Dynamic Libraries are used when you are asked something like: “For this pitch we’re building find me 20 of the largest, most recent deals we’ve done in the Energy sector and present each team member with their short bio”. Even if you have a database containing either deal info and/or your team info often you need to spend time formatting that data into something consistent with one another and to a standard that your client expects from you.
If you are an administrator user who is looking to update the dynamic library, see this article here.
Accessing your Dynamic Libraries
If you have access to the optional feature you find tabs within your Library pane for each Dynamic Library type. In the GIF we navigate between the Classic Library (Slides & Shapes), the two Dynamic Libraries (Tombstones and Bios), and Saved Searches.

To access the Dynamic Libraries you will need an active connection to your corporate network. Your Slides & Shapes Library will remain working when offline.
Using filters
- By default some filters will appear.
- Additional filters can be added to your pane using the More filters button. You can also remove filters that you do not want to use.
- The results are regenerated once you press Apply. UpSlide will then show you the number of items matching your search.

Only filters that are in use and have option(s) selected will impact the results. Filters not in use will not impact the results.
Saving filters
- If you use certain filter combinations often, you can save these.
- Once you applied the relevant filters, you can click Save search. UpSlide asks you to type in a name before you are able to access the saved search in the Saved Search tab.
- The Saved Search tab allows you to not only apply saved searches but also to rename and delete existing ones.
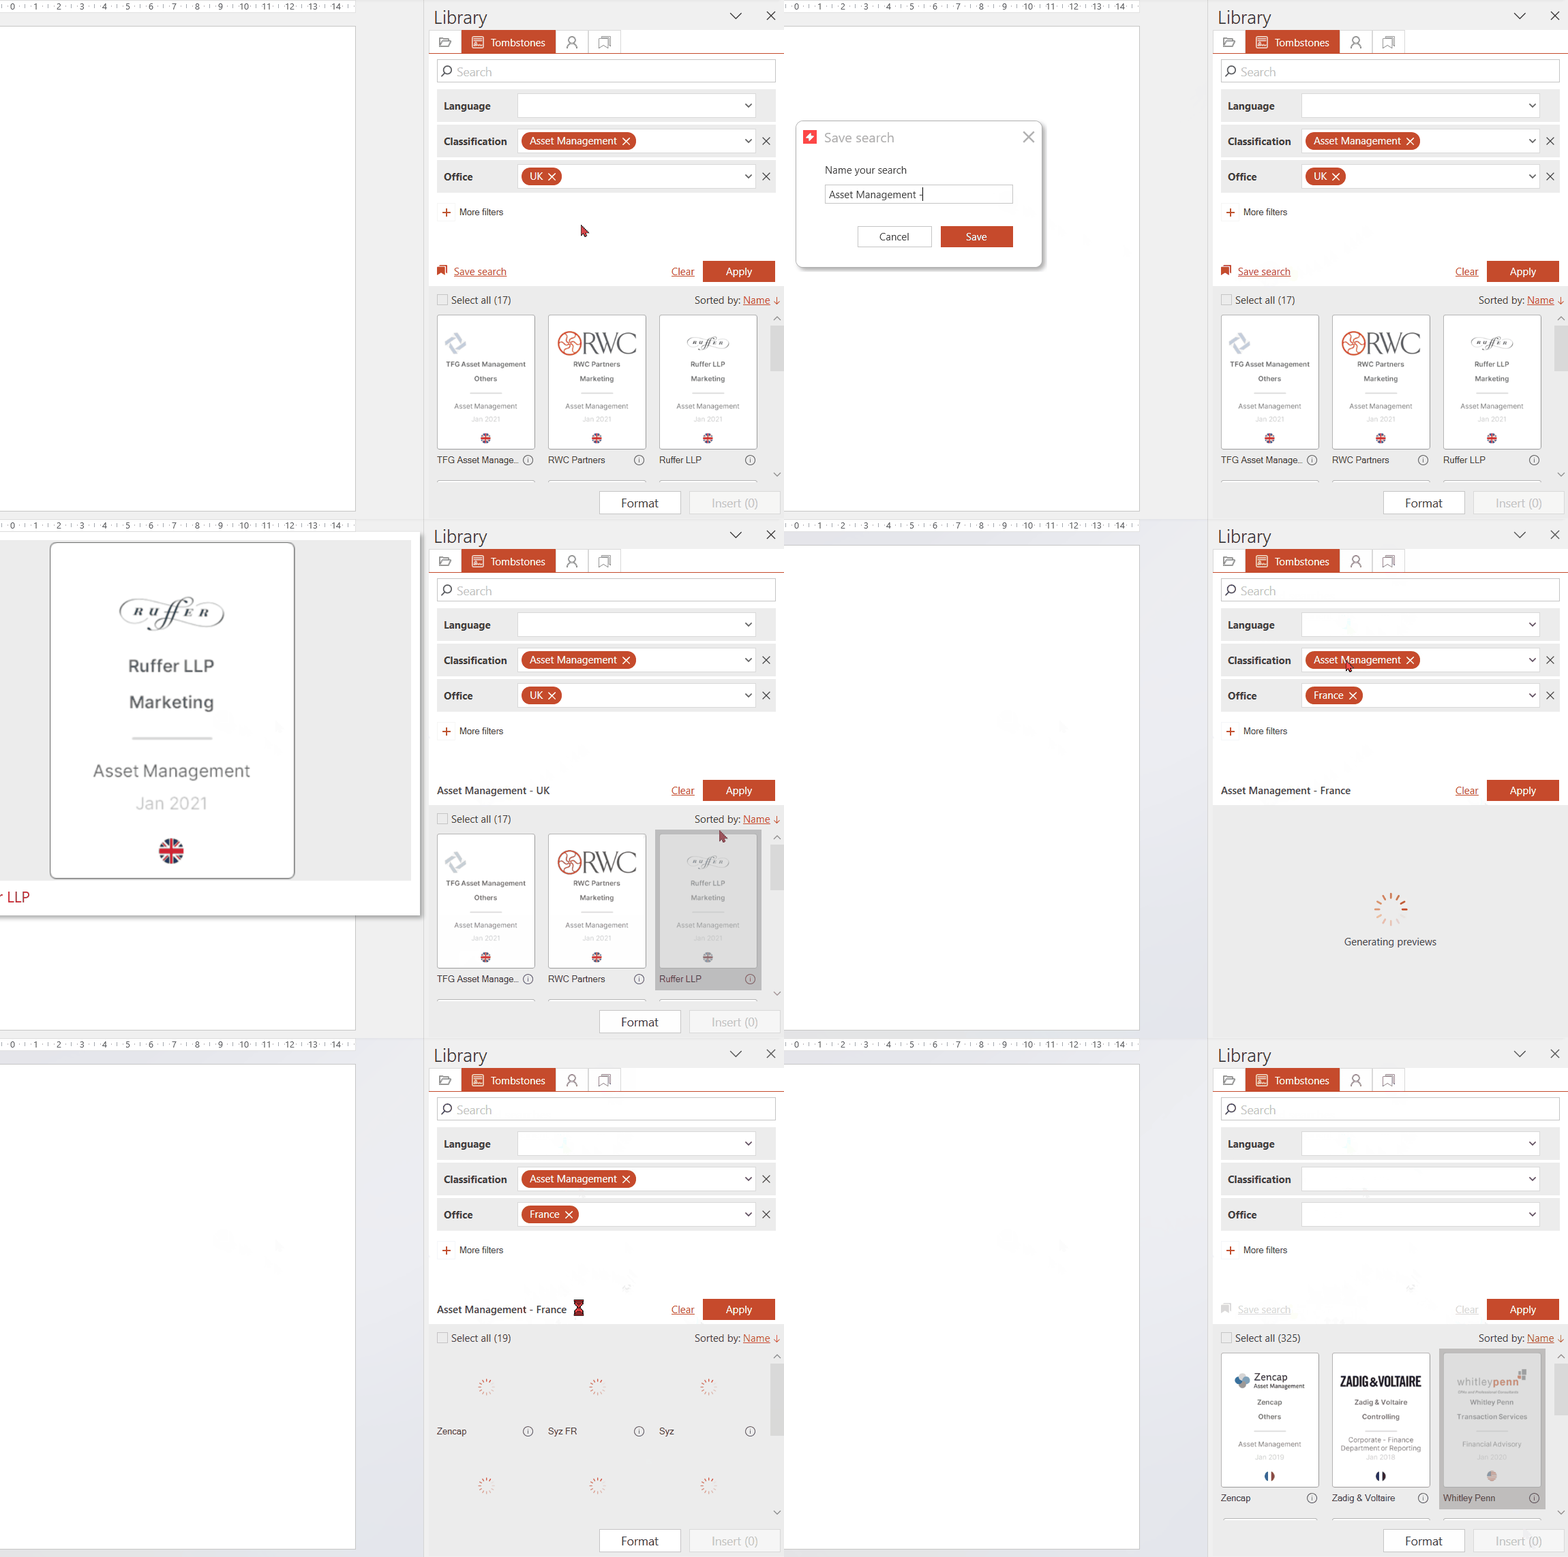
Saved searches also work with our search bar, i.e. you can save a combination of filters and search prompts.
Previewing results and choosing format
- Hovering over an item in the preview area shows a bigger preview.
- Pressing the ⓘ on an item will show you all the data available.
- Press format to see the other formats you can automatically present the data in.
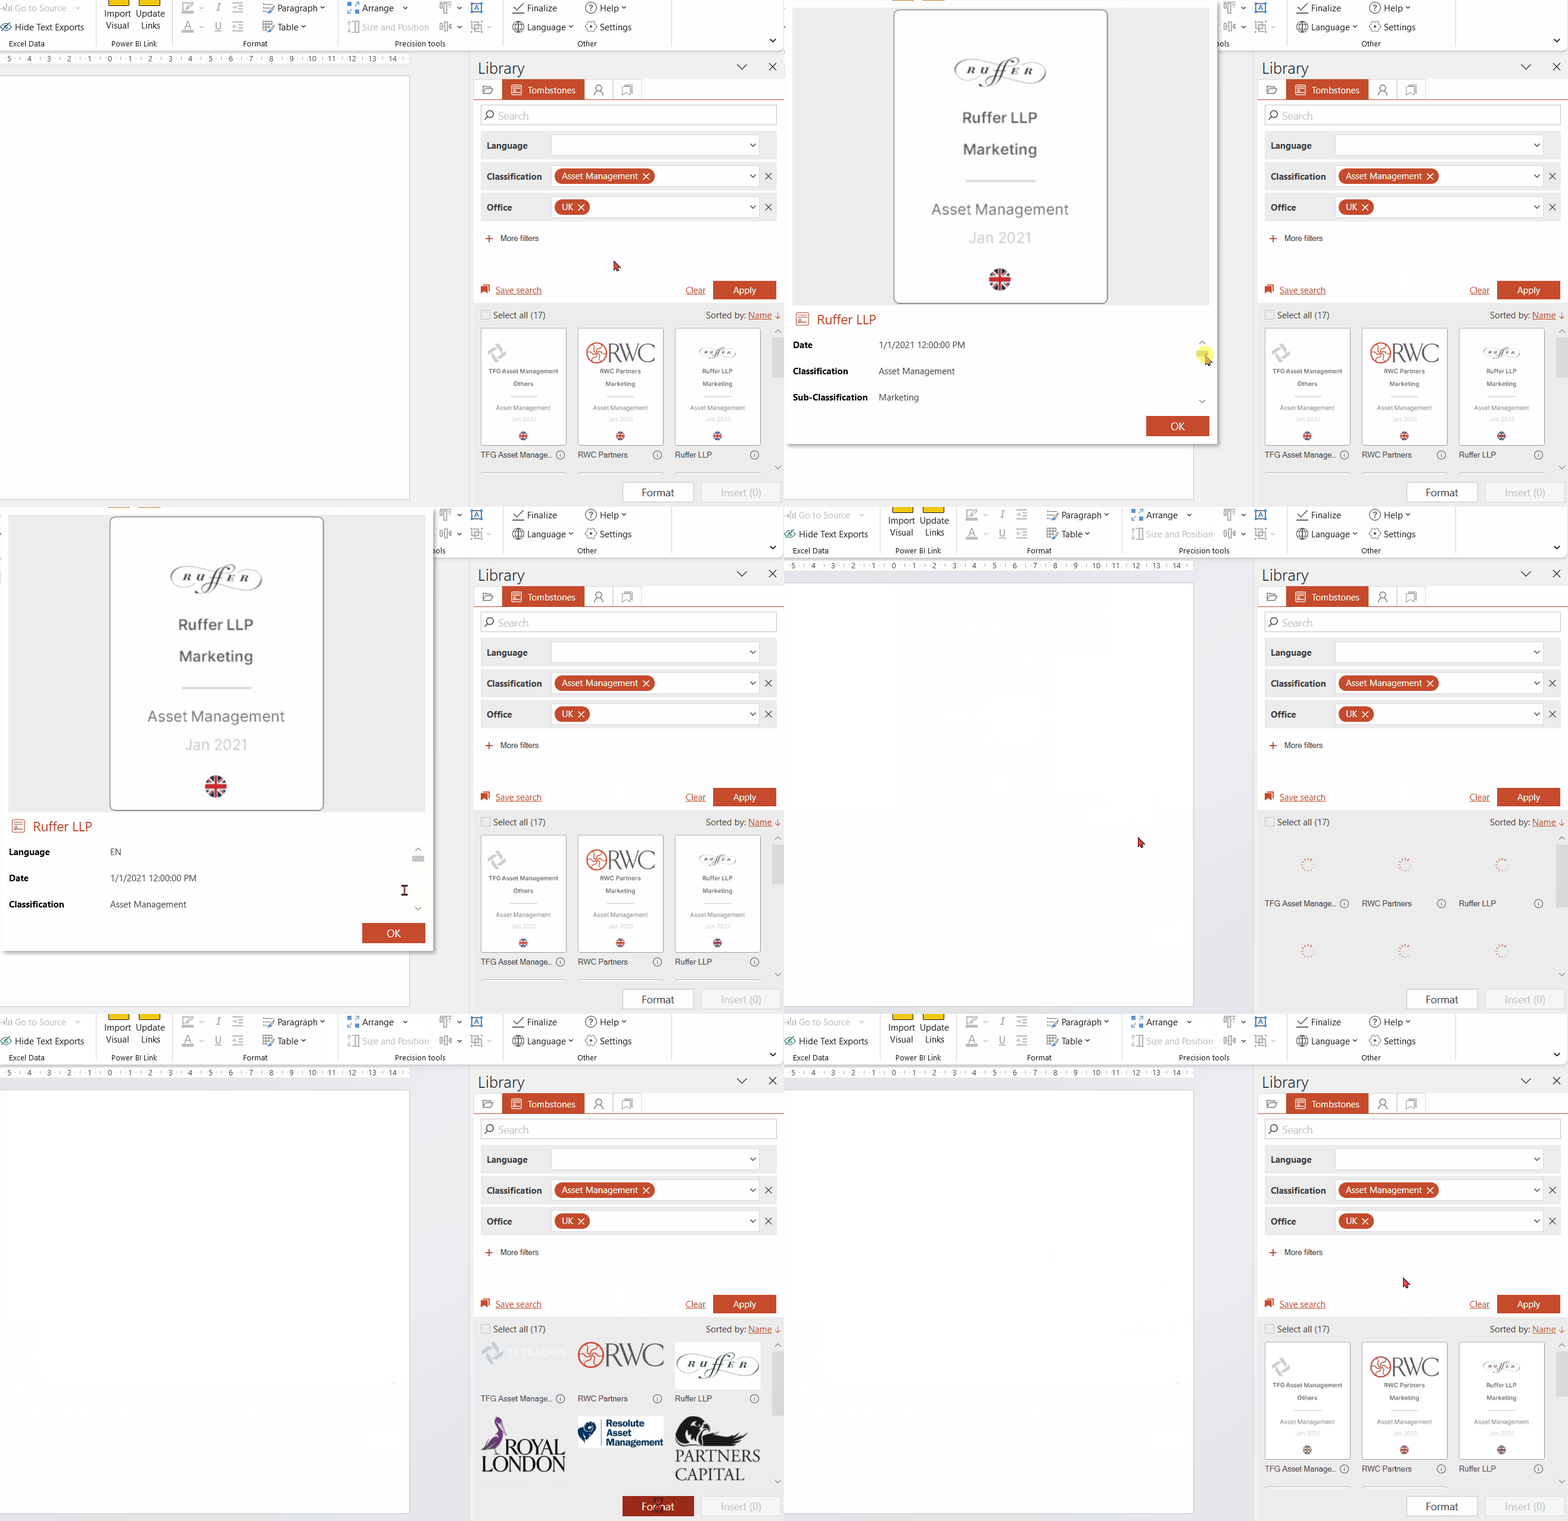
Specific formats can be set to display results only if they have a particular column filled in.
Example: When the case study format is selected, only deals with case study information will appear.
Adding and arranging content onto the slide
You can select individual items to insert or use the Select All tick box and deselect any you do not want to use.

- Once you have selected the right items click the Insert button at the bottom of the pane.
- Items will be added to the slide and the pane will display some arrange solutions.
- Choose a container (this could be a shape or a placeholder) and the arrange solution that fits you best.
- You can split the items onto several slides and change additional settings (alignment, margins) at the bottom of the pane as well.