This article will guide you through a series of tests to ensure that UpSlide is appropriately installed and configured.
The first step is to activate UpSlide:
- if you’re in IT, please check the activation section of this article.
- If you’re a user and do not have a license yet, please follow this article.
Once UpSlide is ready, please perform all of the tests below.
Summary
Activation process
If you’re in IT
- Start Excel, Word, or PowerPoint. UpSlide should ask for your email. If your email address is refused, please contact support@upslide.net to get a temporary license.
- Once activated, open Excel, PowerPoint, and Word to check if the add-in is correctly loaded and visible.

If you’re a user or an admin
- Please check this article where you will find all information.
Templates
- Open the Template menu and check that templates are available
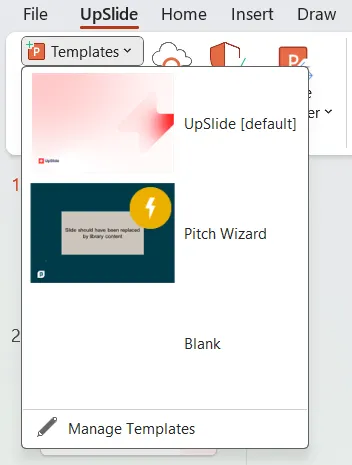
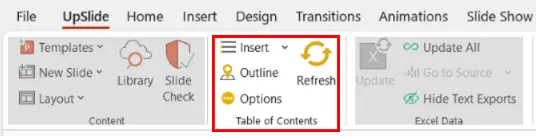
- Select one, and in the new document, check that the Table of Contents works as expected:
- Insert a section.
- Insert a subsection if applicable.
- Use the Refresh button to update the Table of Contents.
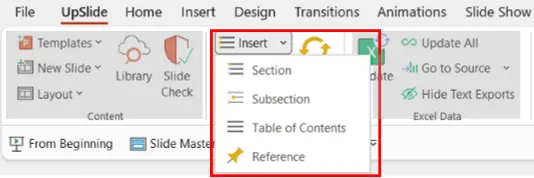
- Check that the footers are correctly displayed:
- Fill all placeholders in the slide title.
- Refresh the Table of Contents using the Refresh button. The footer should be visible in all content slides of the presentation.
Excel Link to PowerPoint and Word
Open an Excel and a PPT document.
Export
- Select a cell/table/graph in Excel and use the PowerPoint button to export it to PPT. For each Link created, check that an image is created in PowerPoint (or a hyperlink if you selected a cell).
- Save both documents.

Update
- Edit the exported content in Excel, select it in PowerPoint and click the Update button.
- Save both documents.
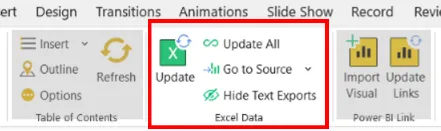
Update links created with a previous UpSlide version
Please test this part only if you were already using UpSlide and got a new version.
- Make a copy of your Excel and PowerPoint files that contain the links
- Open the two copied files
- In PPT, click the Update All button
- In the Imports window, select all the links and click Update
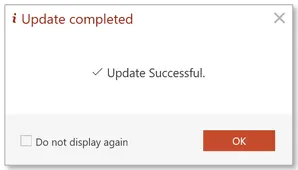
- Check that the update completed and that the appearance of all links is fine
Library

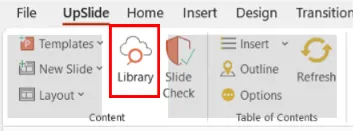
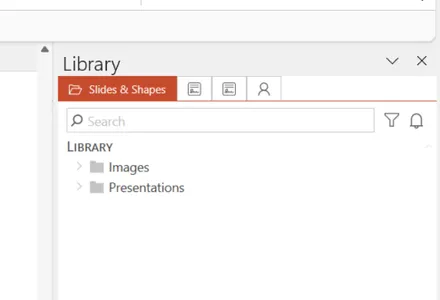
- In PPT, click the Library button to open the Library pane and check that the expected content is displayed.
- Try inserting an element into your presentation (double click on it or right-click and select insert).
- If you’re inserting a shape, check that it is inserted in the correct location.
Library management
(only needed if someone on your team will administrate your library)
As an UpSlide administrator, you can manage the Library and perform the following actions:
- Create a new test folder in the Library.
- Publish a slide and a shape in this new folder.
- Try to rename/replace/delete elements in the Library.
- Delete a folder
Important
The Library is synchronized in real-time for all users. Make sure you delete your test files after usage.