Your company uses SharePoint to store Library content and template modifications. Although the process for sharing templates is the same as the standard process, you must account for specific SharePoint requirements to avoid installation issues.
SharePoint customization path setup
When setting up a SharePoint customization path, you need to ensure it is created with a column named upslide.
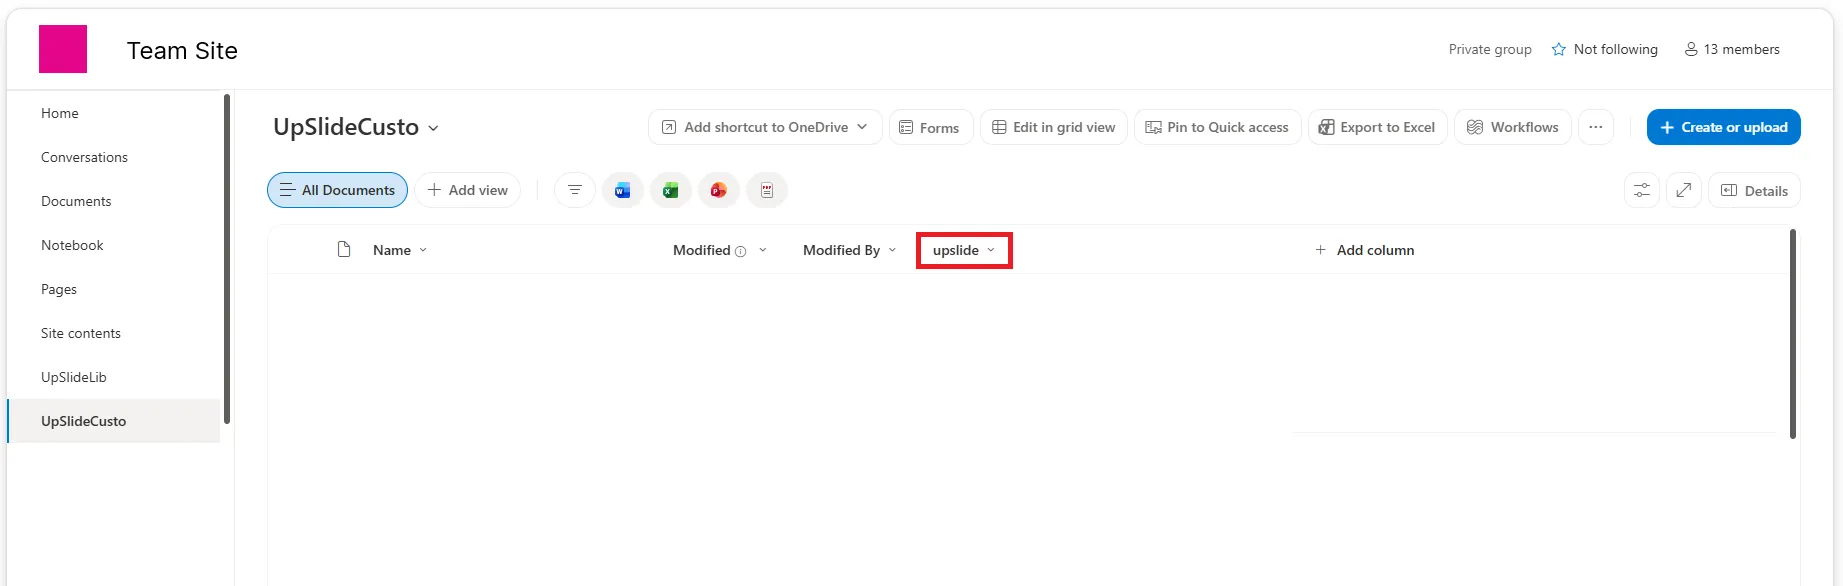
When you publish template modifications to SharePoint, this column is filled with the following metadata:
- Name of the publication.
- ID of the administrator who published the changes.
- Client Code, which identifies the account.
- UpSlide version used to publish the templates.
- Publication date.
Some of this metadata is displayed in Settings. The remaining metadata prevents users from installing template modifications that are incompatible with their UpSlide setup.
Share template modifications provided by an UpSlide representative
You have received a .upslide file from your UpSlide representative and want to share the template modifications with your team. If you copy the file directly to SharePoint, the required metadata is not generated. As a result, the file is not detected by UpSlide and cannot be installed.
To generate the required metadata, follow the Install and share template modifications process described in this article.